DIY vs. professional garage door maintenance identifies which maintenance tasks are safe to perform yourself vs. those that require expert service. Your garage door is likely the largest moving part of your home, yet it is frequently the most overlooked until it suddenly stops working. To keep it running safely and avoid an expensive emergency repair bill, you need a balance of hands-on homeowner care and expert technical inspections.
Here is how to handle your garage door maintenance without compromising safety.
How Often to Service Your Garage Door: The DIY Garage Door Maintenance Checklist
You do not need to be a mechanic to extend the life of your door. If you do not know how often to service your door, start by performing these three tasks every 3 to 6 months to keep things quiet and functional.
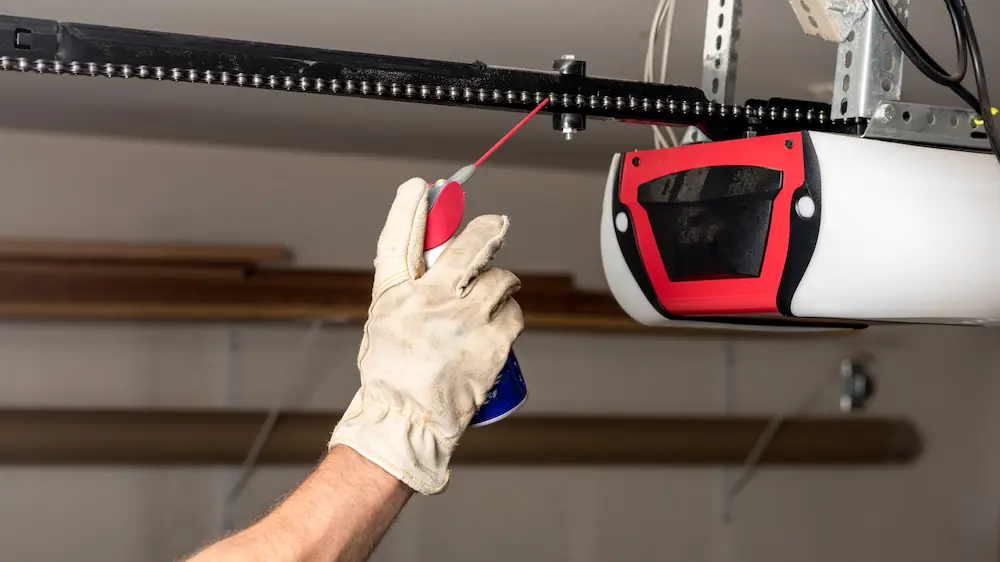
1. Lubricate the Moving Parts
Friction is the primary cause of premature wear. Apply a specialized silicone spray or white lithium grease to the springs, rollers, and hinges.
Important: Never use standard WD-40. It is a solvent, not a lubricant. It will actually strip away existing grease and attract dust, which acts like sandpaper on your door’s components.
2. Test the Safety Sensors
Since 1993, all openers must have sensors near the floor. To test them:
- Start closing the door.
- Wave a broom handle through the path of the beam.
- The door should reverse immediately. If it does not, your family is at risk; call a professional.
3. Visual and Audio Inspection
Listen and look: is the door grinding or squeaking? Look for loose bolts or debris in the tracks. If the door looks crooked or sounds strained, it is time to stop the DIY and call in reinforcements.
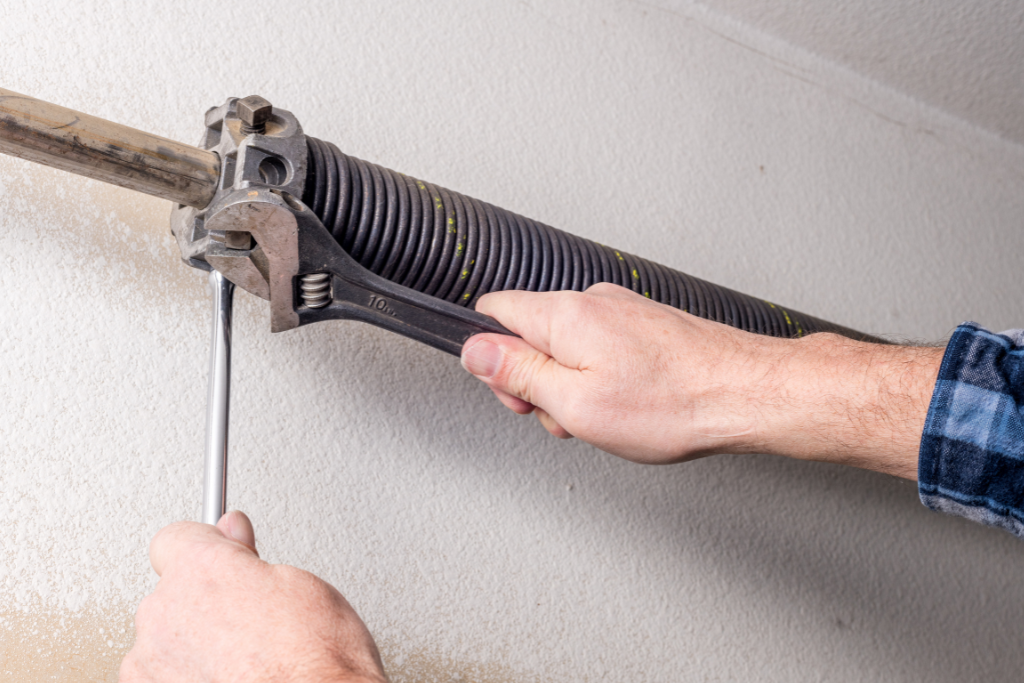
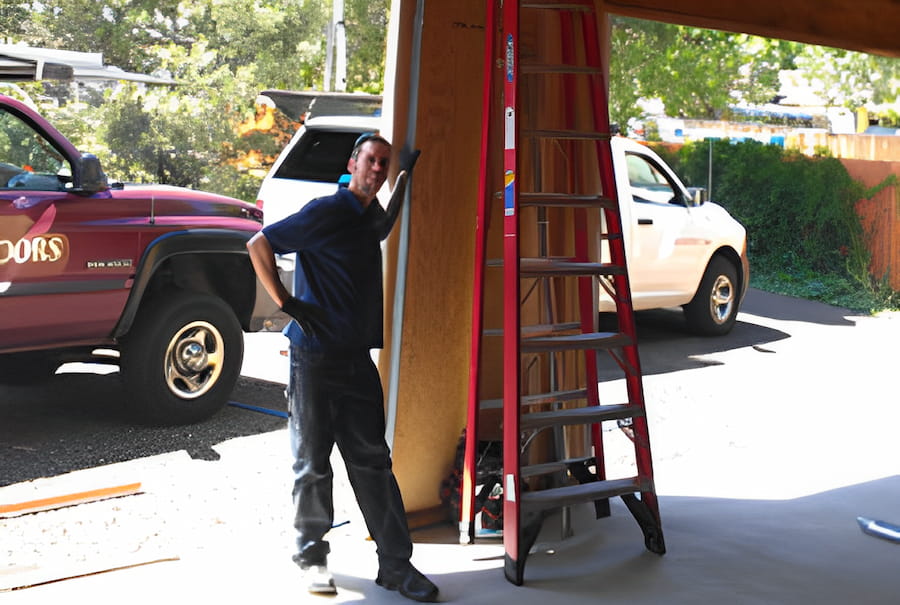
When to Call a Professional for Garage Door Maintenance Service
Some components of your garage door are under extreme tension. Attempting to fix these yourself is not just difficult; it is physically dangerous.
Professional Maintenance Schedule
Industry experts recommend a professional inspection once a year. A technician checks for things invisible to the untrained eye:
- Hairline cracks in hinges.
- Fraying cables, which can snap with high force.
- Tension imbalances that force your opener to work twice as hard.
Component Lifespan Cheat Sheet
Knowing when a part is at the end of its cycle helps you budget for replacements before it fails.
| Component | Average Lifespan | Why Professionals Only? |
| Torsion Springs | 7–10 Years (10,000 Cycles) | High-tension steel can cause severe injury if it snaps. |
| Cables | 8–12 Years | Supports the entire weight; requires specific tools to replace safely. |
| Openers | 10–15 Years | Modern units require precise limit setting and calibration. |
Pro Tip: Insulation for Longevity
If you are upgrading, do not just think about warmth; think about structural integrity. Choosing the right insulation makes the door more rigid, which means less shaking and less wear on the hardware over time.
| Feature | Polystyrene (Styrofoam) | Polyurethane (Injected Foam) |
| Structure | Rigid panels inserted manually | Foam injected to fill 100% of the cavity |
| Thermal Efficiency | R2 to R10 | R10 to R17+ |
| Durability | Standard | Superior (Bonds to steel for dent resistance) |
The Bottom Line: You handle the lubrication and safety tests; let the professionals handle the springs and structural health checks. A little bit of care today prevents a heavy door from falling tomorrow.